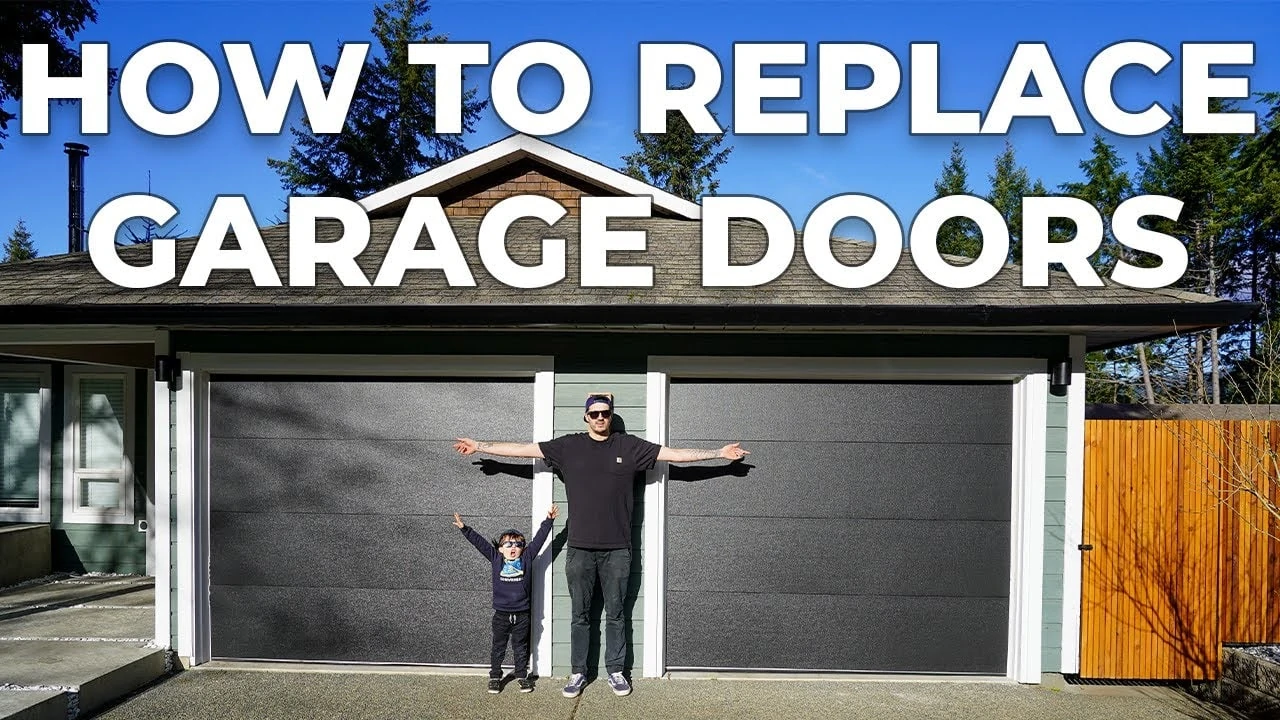
How To Replace Old Garage Doors
Today I am going to share a step-by-step guide on how to replace old garage doors with new ones. This tutorial is sponsored by Dura-Lift.
How To Replace Old Garage Doors
Table of Contents
In todays video im going to show you how I replaced my old, tired, beaten and outdated garage doors with new fully insulated ones. I also updated some of the hardware with the help from my friends at Dura-Lift.
Dura-lift are setting the standard in garage door hardware and supply everything you will need to either replace a single part or install new.
This site uses ads and affiliate content, earning commission on qualifying sales. Disclosure.
They sell everything from Torsion spring to full installation kits.
I’ll list their link below and the links to everything I used in this video.
Dura-Lift Garage Door Hardware
DURA-LIFT 8′ X 7′ GARAGE DOOR PREMIUM HARDWARE PARTS INSTALLATION BOX
DURA-LIFT GARAGE DOOR LUBRICANT (6OZ.)
DURA-LIFT RUBBER GARAGE DOOR BOTTOM SEAL, 5/16″ DOUBLE-T, 3.5″ WIDE
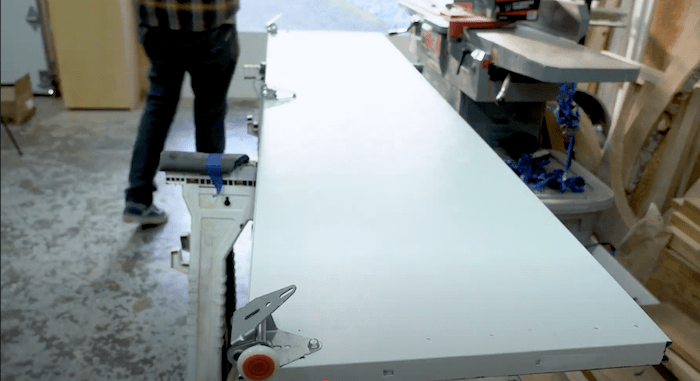
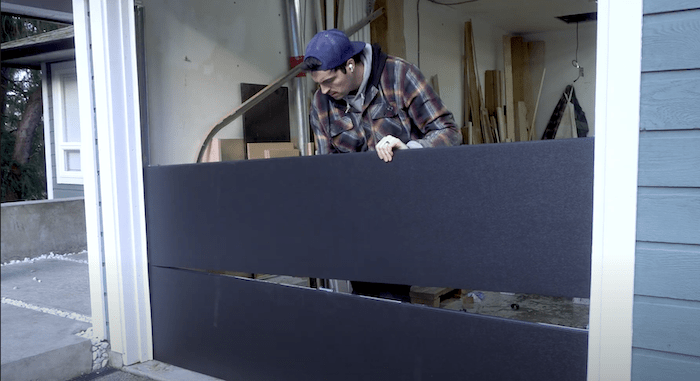
Okay back to the video. I purchased my new 7x8ft doors locally and used new hardware from Dura-Lift. The color of the doors are Black (no white) by Benjamin Moore Paints.
It’s a pretty simple installation which took me the best part of a day to install both doors.
The only difficult / scary part was dealing with the torsion spring. The spring is very heavily loaded with tension when installed so its important to take your time.
Use the correct tools and take your time. If in doubt call upon a professional.
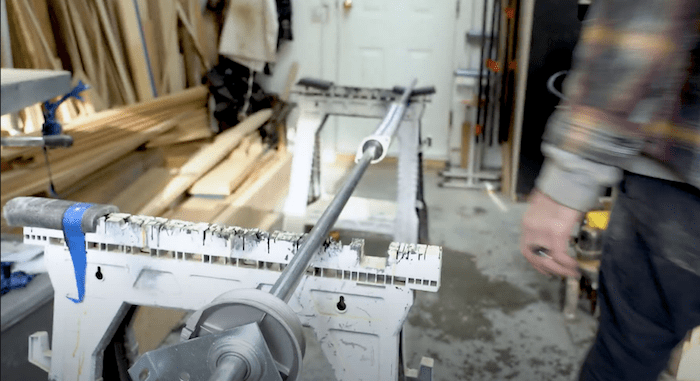
Step one – Organize the garage door parts you will need
For ease on installation, I organized all the parts in the Dura-Lift hardware kit in order of when I needed it.
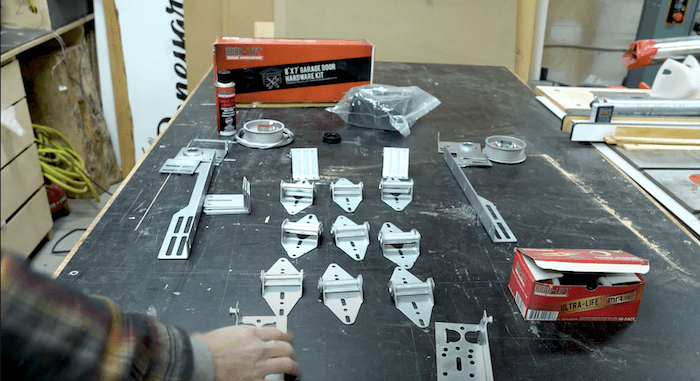
Note! The Hinges are labeled 1,2,3. Hinge 1 goes at the top and either end of the first panel and the middle of all the panels. Hinges 2 go on the outside at the top of panel 2 and so forth.
Step 2: Remove The Old Garage Doors
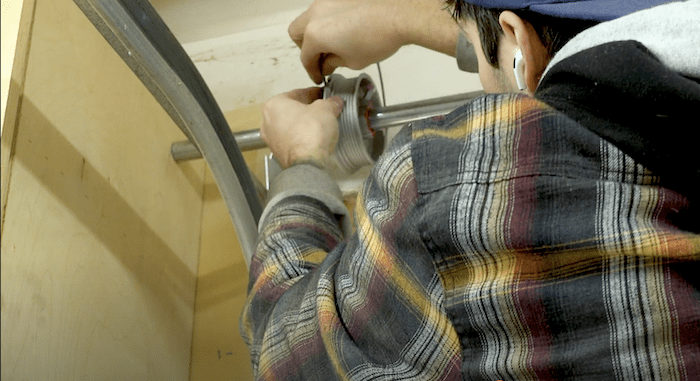
Before I removed any of the door panels I had to carefully remove the torsion spring. To do so I clamped the door shut and clamped the torsion bar from moving.
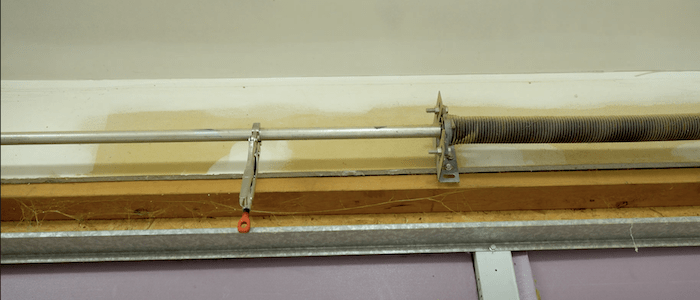
I then inserted a winding rod into the first hole of the torsion spring. While holding securely onto the winding rod I removed the bolt holding the spring to the bar.
I then began removing the tension from the spring 1/4 turn at a time with the winding rods CAREFULLY.

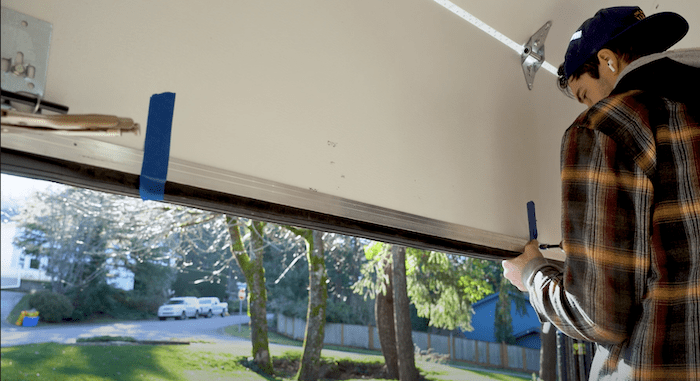
Once the tension was released I removed the bar and all its parts. I then removed the first panel of the garage door removing the hinges and sliding the panel out of the tracks.

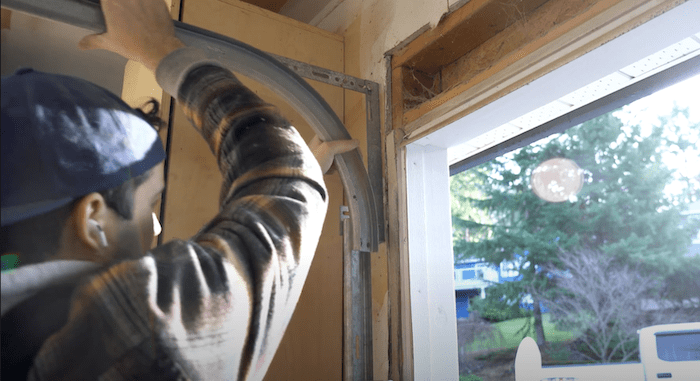
For ease on removing the rest of the panels and I inserting the new ones I temperaly removed the horizontal track.
I then proceeded to remove the remaining panels one by one.
Step 3 : Installing Hardware And Putting In The Door Panels.
Most garage doors are labels in order of they go or if not you can usually tell the first panel by the weather strip. for me the doors I have the weather strip goes on after the fact so all panels are identical.
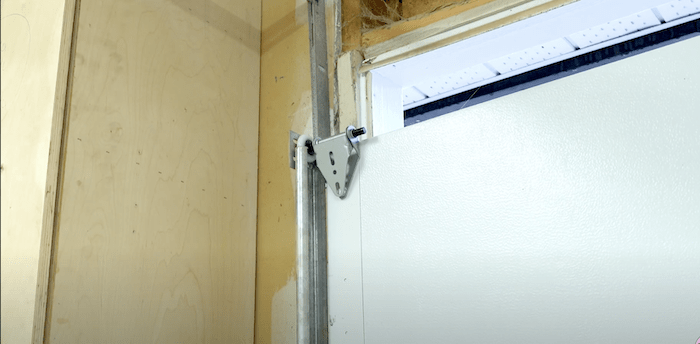
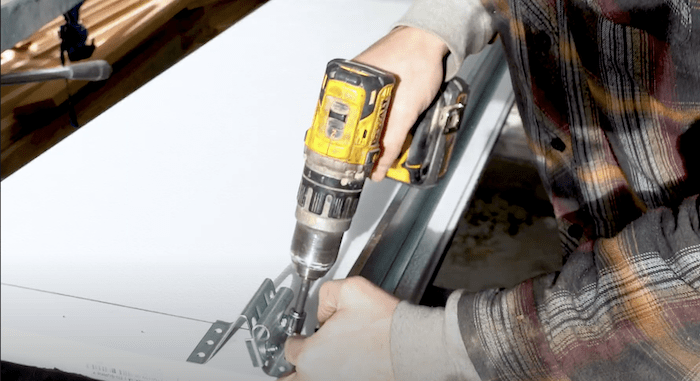
I installed the bottom brackets at the bottom of the panel into the manufacturers holes with the 1″ self tapping screws provided by Dura-Lift.
I then installed the no.1 hinges to the outside and the middle at the top of the first panel

Once the hardware was attached in inserted the upgraded rollers into the holes provided by the hinges and installed the first panel into the vertical tracks.
Once the first panel was in, I dressed the top of the second panel with the hinges. I used hinge no.2 on the outsides and hinge no.1 in the middle.
Once the hardware was on, I installed panel no.2 into the vertical tracks and connected the two panels together with the hinges.
I repeated these steps until all three panels where in and connected together forming one whole unit.
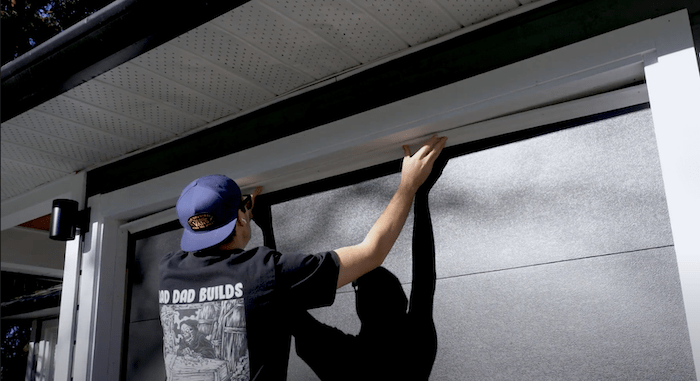
I then re-installed the horizontal tracks.
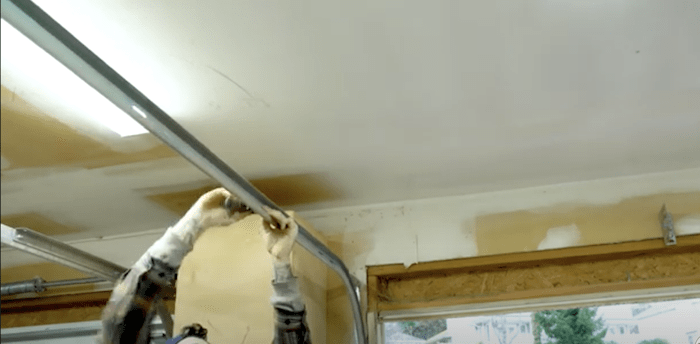
I added the top brackets to the top of the final door as well as the support bar.
And finally added the top panel into the tracks and adjusted the top panel so the gap to the framing was consistent to the other panels.
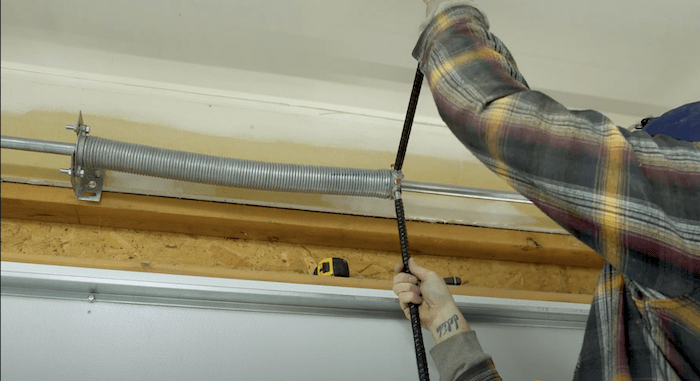
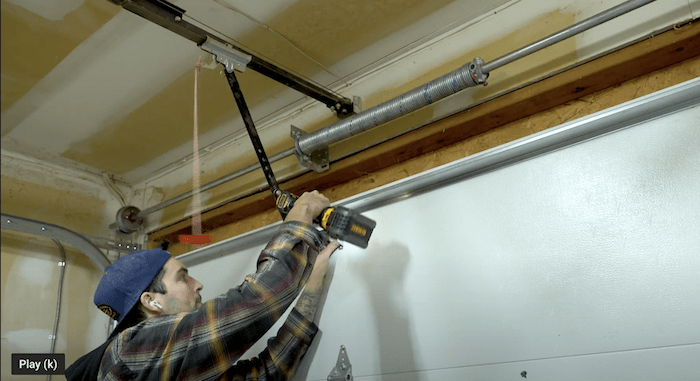
Step 4 : Connecting The Tension Spring
Before I installed the torsion spring I had the dress the torsion bar with all the new Dura-Lift hardware.
I inserted the spring onto the bar and placed the plastic centre support into the end of the spring.
I then inserted the two wheel drums. Note: they are labeled left and right.
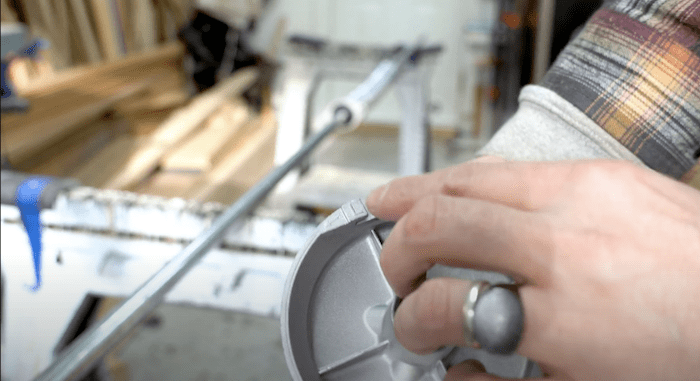
After that I attached the two end bearing plates.
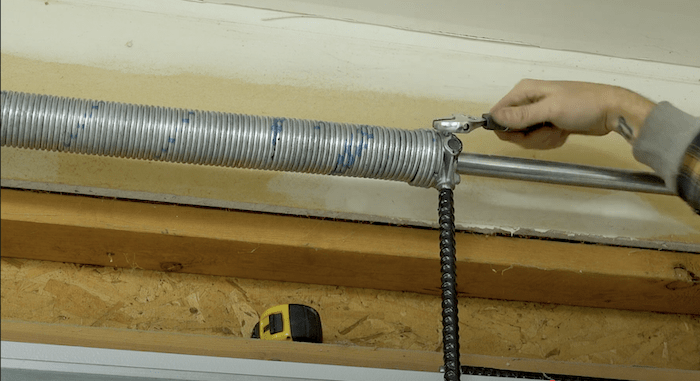
Once the torsion bar was dressed, I installed it back onto the track support and bolted to to the wall.

Once the bar was installed I connected the two 8ft lift cables the the wheel drums 1 at a time. I made sure to clamp the bar from moving so they can both be installed with the cable tight.
I then clamped the bar from moving and wound the torsion spring 25 quarter tuns.
Once the spring had the correct amount of tension for the size of the door I locked it into place with the bolts.
‘
Step 5: Install weather strips and bottom door seal
Now the door is opening and closing. I installed all the weather barriers.
First I installed the bottom seal by pre drilling the seal track then screwing it into the bottom of the door with the self tapping screws.
I then installed the weather strips to the outside by placing them flush to the door and screwing them into the framing.
Finally I connected the door lifters and these doors where in.
Final Step : Maintenance
Now the doors are in and working smoothly. Maintenance is important, as it will keep it working smoothly for years to come. This is achieved by up keeping regular maintenance.
For this I recommend the Dura-Lift garage door lubricant.
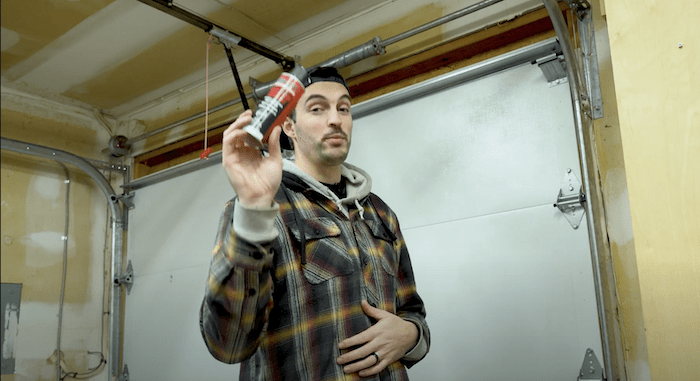
With the door lubricant I spray down all the moving parts every 3-6 months from the spring to the rollers the the door lifter. this stops erosion and keeps everything rolling smoothly for years to come. 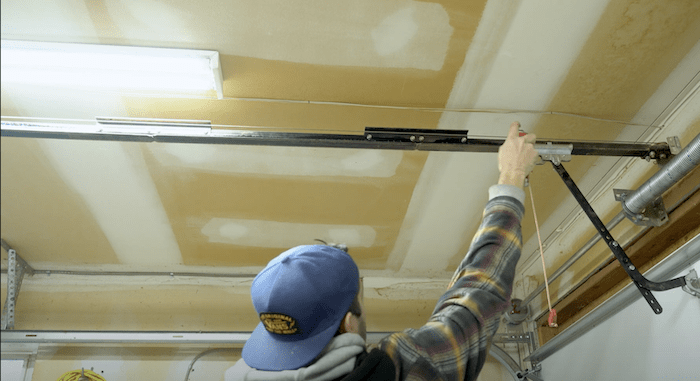
So that wraps up todays project, don’t for get to check out the video if you already haven’t.
Any questions let me know.
Work with me?
Apply here: raddadbuilds.com/contact/
Check out my blog: raddadbuilds.com
Like the music I use? Epidemic Sound playlist below:
www.epidemicsound.com/playlis…
www.epidemicsound.com/referra…
Please go follow me over on Instagram @raddadbuilds. Its a brand new account and I can’t seem to get past 600 followers which seems really sad.