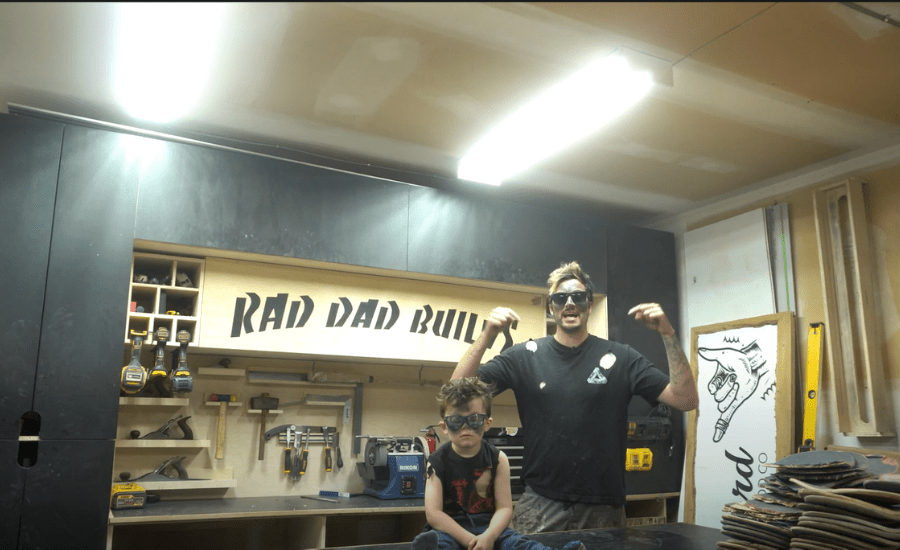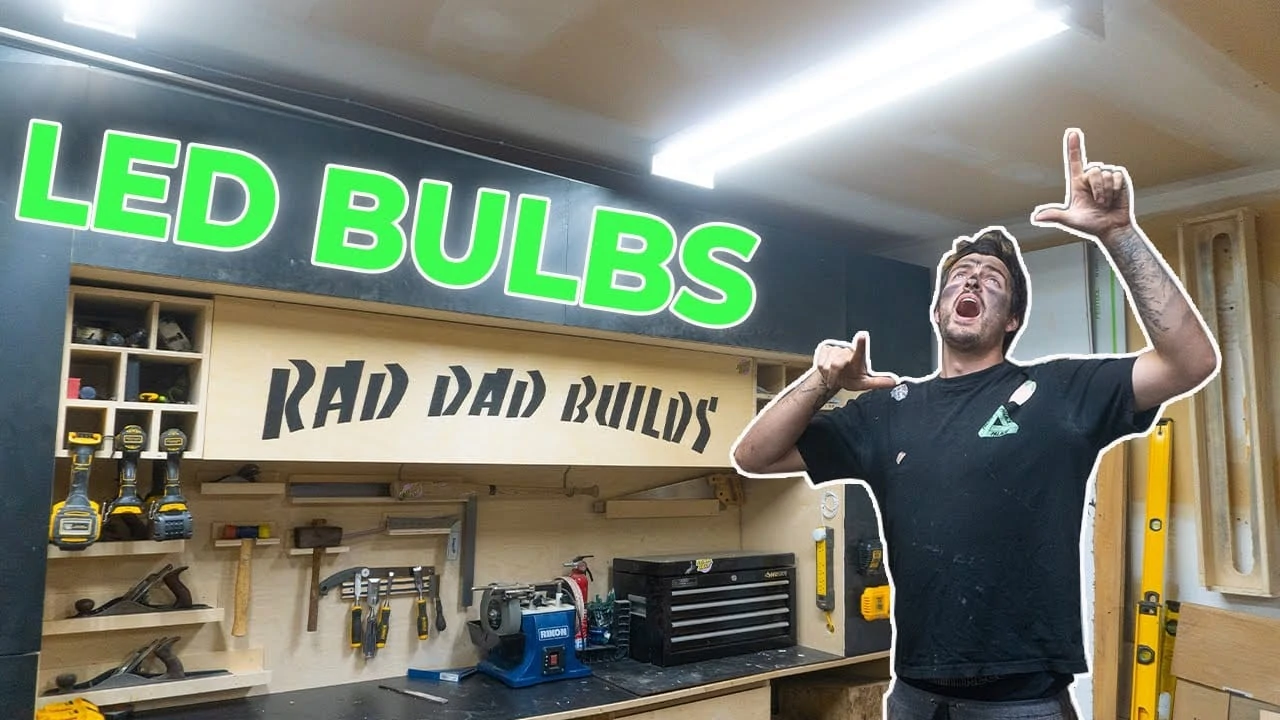
How To Safely Replace Cheap Garage Lights With Bright LED Bulbs
Today I’m going to show you how I transform my dark dingy shop lights to some nice bright LED bulbs.
I ordered the LED tube light bulbs from Amazon, here. They come in a pack of 12 with some very very vague instructions.
They look very similar to the original tube light bulbs. They have the same fittings either and except these ones have tiny little LEDs.
The tools needed to complete this project are:
This site uses ads and affiliate content, earning commission on qualifying sales. Disclosure.
- A set of screwdrivers
- Some electrical tape
- An electrical tester
- Some electrical connectors
- And some wire cutters and some pliers.
Watch the video of this DIY project
Upgrading Cheap Garage Lights With Bright LED Bulbs
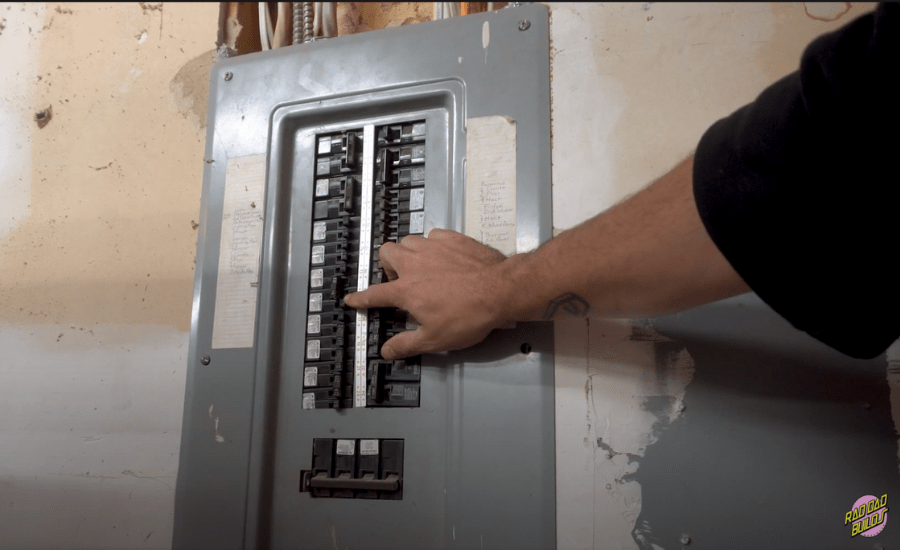
I started off this project by turning off the breaker to the shop lights.
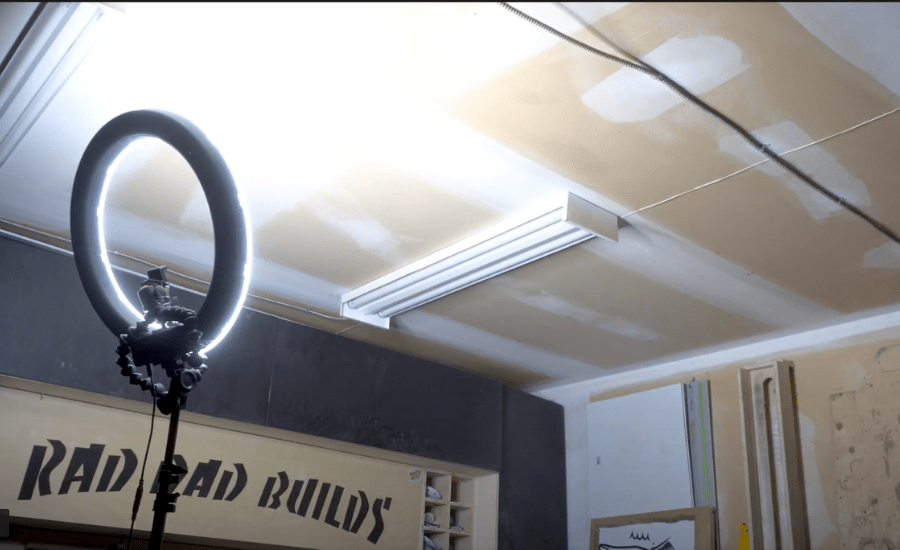
And of course, doing so made it very dark and so I ran a cable from inside the house and then plugged in my Tiktok light.
When you are certain that the power is disconnected, turn each bulb at a quarter of a turn. Then gently pull down and remove the cover exposing the electrical wires.
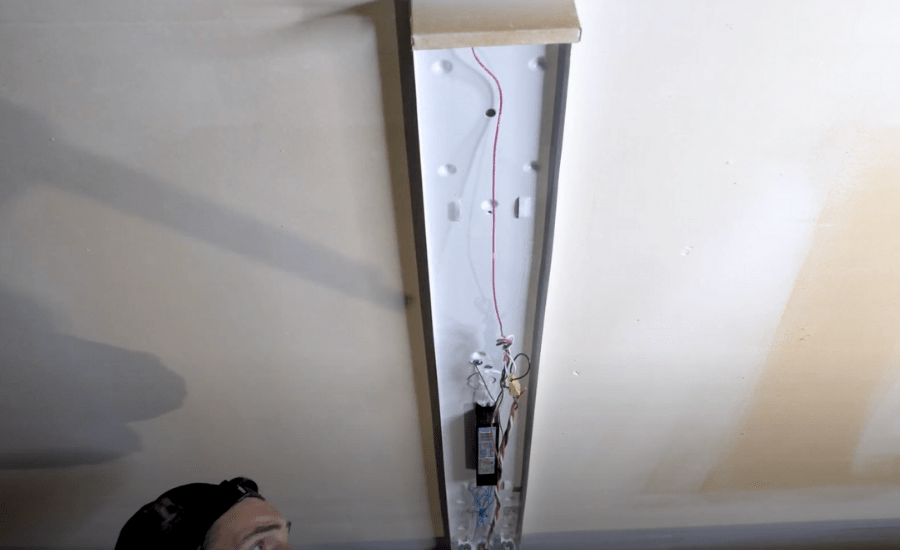
I cut off the wires coming out from the electrical ballast which is the blackbox screwed to the light fixture.

Coming out of the box should be two yellow wires a black and a white wire coming out from one side and then to red and then two blue wires coming from the other. Once the wires are cut, I untangled the wires and then remove the ballasts box.
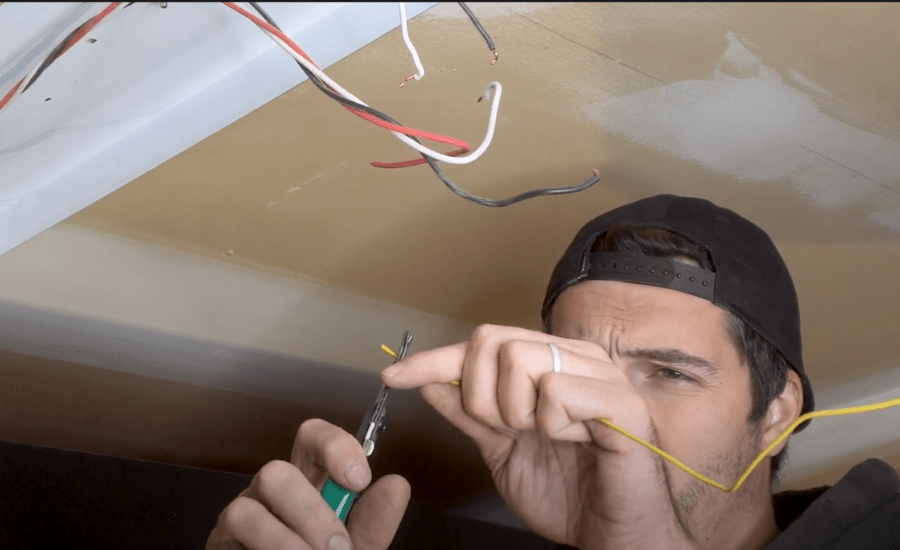
Because this light is part of a run of lights I have two black live wires and two white neutral wires running through it. The black and white wire that comes in through the centre of the light fixture is the main power supply from the breaker and the other black and white wire going through the end of the light fixture is to supply the next light.
I removed the electrical connectors from the live and neutral and separated the both wires.
I then stripped the ends of the two yellow wires coming from the light fixture exposing about an inch of the raw copper wire.
I Then join the two ends of the yellow cable and the two ends of the white neutral cables together with an electrical connector.
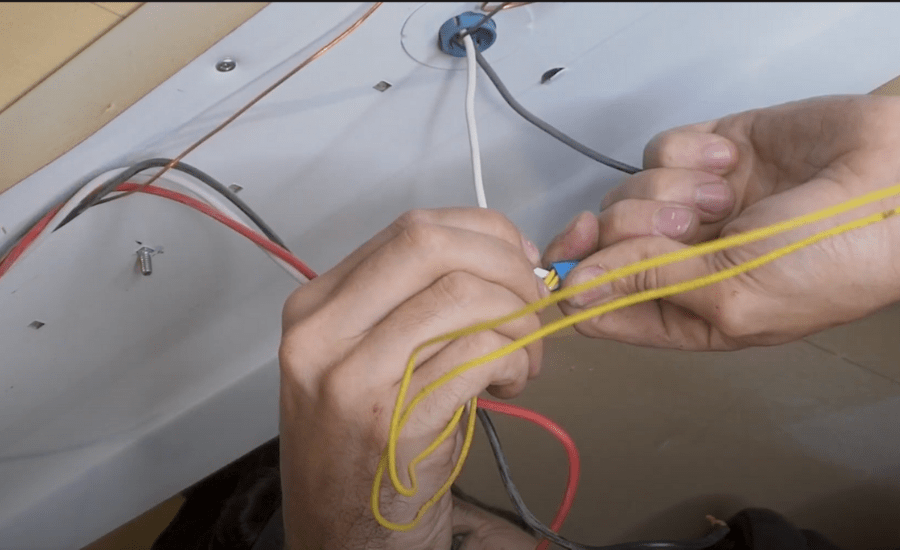
I gave the cables a light pull making sure they’re all connected securely together. I did the same by stripping the ends of the two red wires and the two blue wires coming from the other end of the fixture exposing about one inch of copper wire again.
Then twisting together the ends of the blue and the red cable. There were too many wires to go into one electrical connector, so I added a short live wire pigtail to the blue and red wires connecting them all together with an electric connector.
And then repeating the same steps as before I connected all three of the black live wires together creating a full circuit.
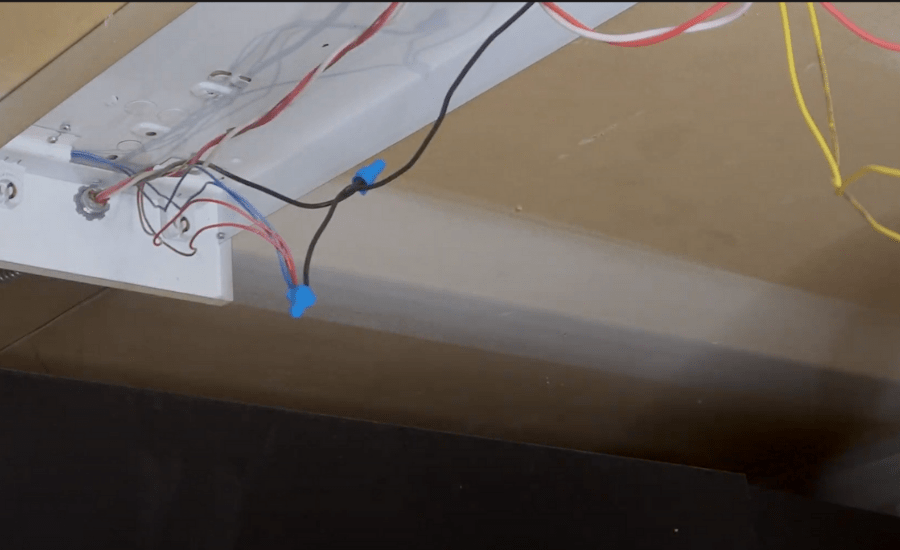
I then applied electrical tape to all the connectors making sure that nothing will ever come loose, and reconnected the wire cover making sure that all thewires are tucked inside.
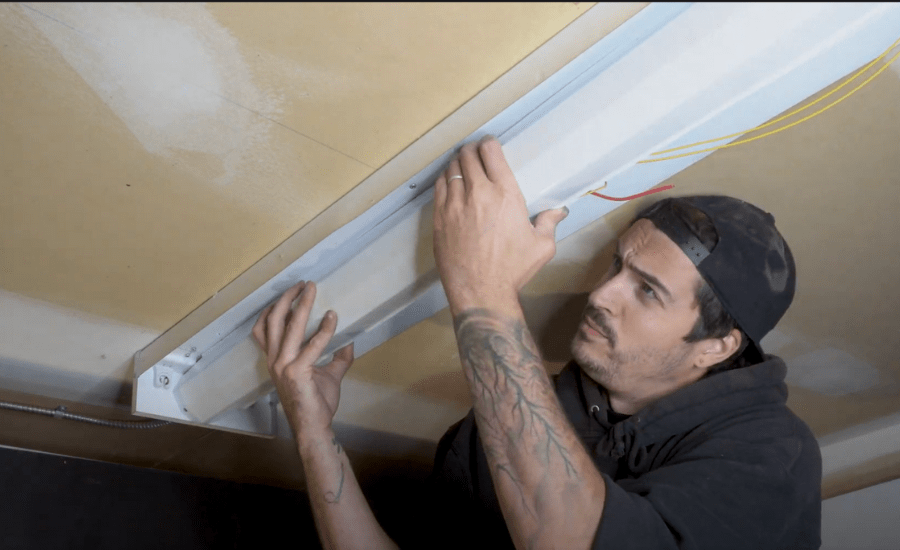
I then carefully inserted the new LED Bulbs by sliding them carefully into position with the pins vertical and then given them a quarter of a turn locking the Bulbs into place.
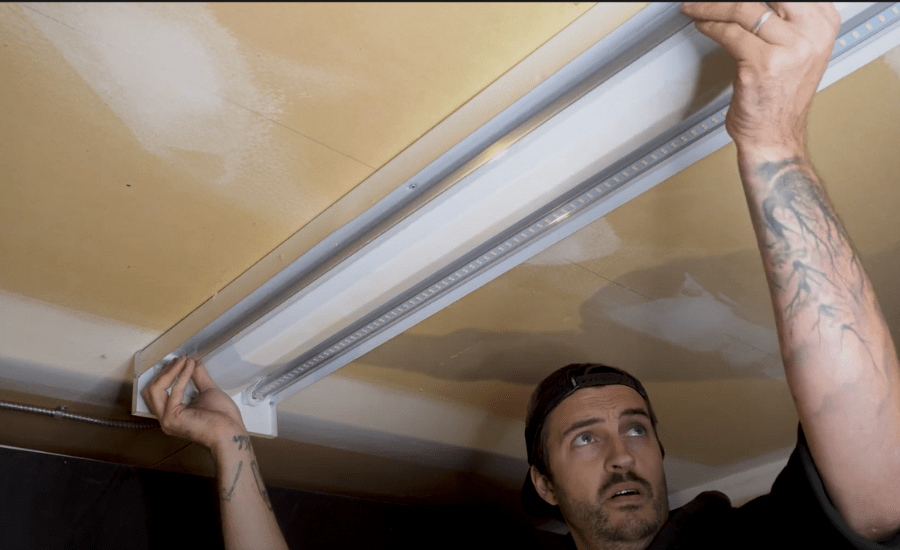
And then finally flicked on the breaker to make sure everything was wired up correctly.
Once I was happy I turned off the breaker again and then continue the same steps on the other lights.