• Skip to primary navigation
  • Skip to main content
  • Skip to primary sidebar
  • Skip to footer
Rad Dad Builds logo

RadDadBuilds

  • Home
  • About
  • Contact
  • Blog
  • Tools
  • Facebook
  • Instagram
  • YouTube

NEVER MISS A POST

White Oak Bathroom Mirror Vanity Cabinet DIY Tutorial

October 12, 2020 By Rad Dad Builds Leave a Comment

Man Talking about he built a diy White Oak bathroom vanity with glass doors for less than $300
  • Share
  • Tweet

Yesterday I showed you how I built the lower vanity cabinet of my bathroom vanity.

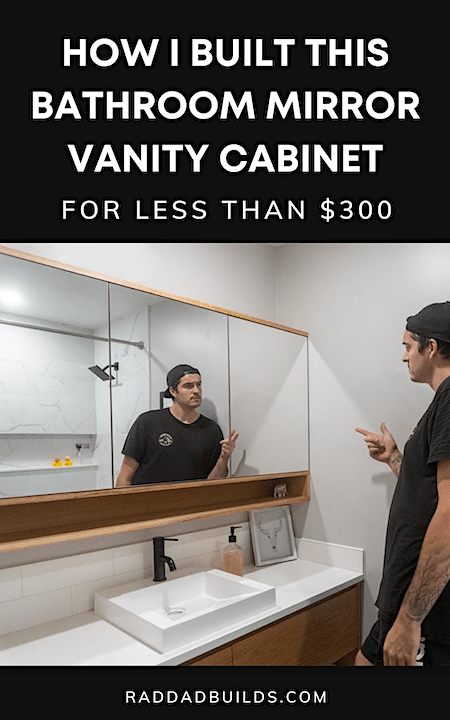
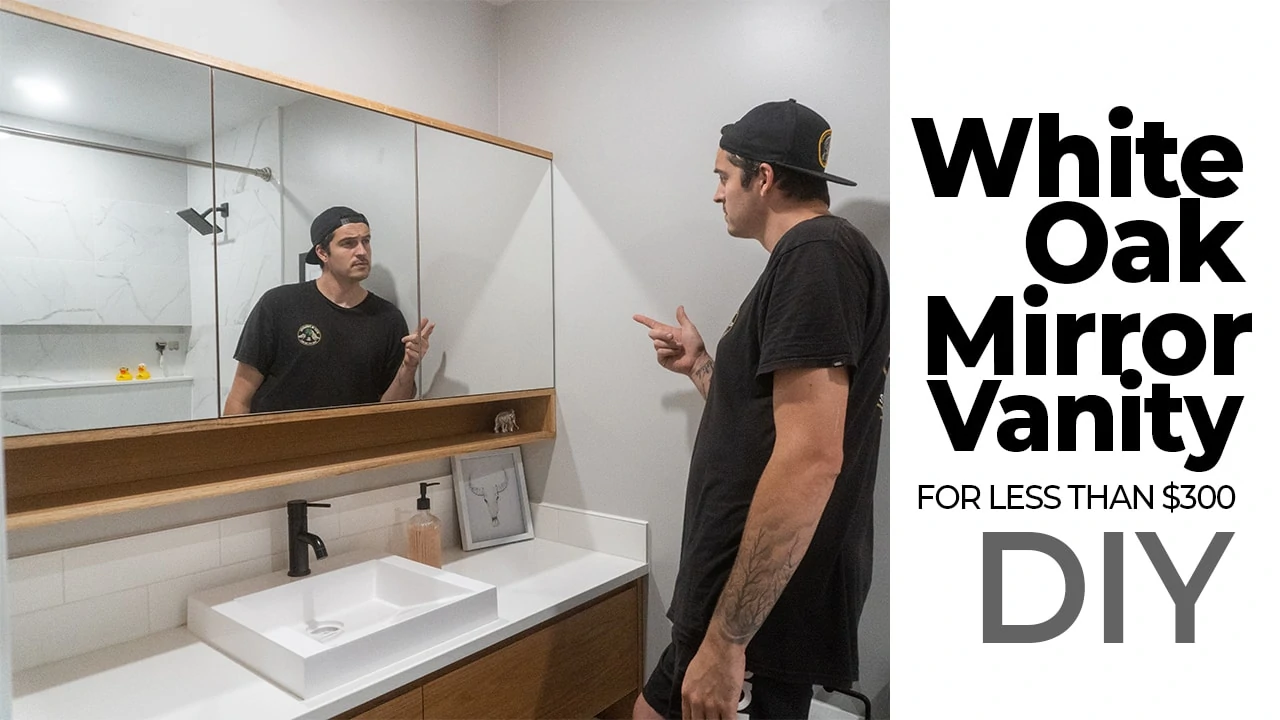
And today I’m going to show you exactly how I built the top mirror vanity cabinet to go with it.

This is a white oak vanity cabinet with glass mirror doors.

Here’s how to DIY your own mirror vanity cabinet for less than $300.


All content at RadDadBuilds.com is copyrighted, and republication is prohibited by law. This site features ads and affiliate content as an Amazon Associate earning from qualifying purchases. Disclosure • Advertise with us

Watch Part 2 Of My DIY Modern Bathroom White Oak Vanity Cabinet DIY Tutorial

(Missed part one? Watch that here first.)

White Oak Mirror Vanity Cabinet DIY

I started off this upper vanity project by utilizing all of the spare material left over from the lower vanity.

I built both cabinets from white oak veneer plywood which I picked up from my local hardwood supplier for less than $45 a sheet.

I used solid white oak for the edge banding on the cabinet. I purchased the mirrored glass from a local glass shop that cut the glass to the size of the doors for me.

The material that I’m using is three-quarters of an inch wide oak plywood. I built this upper vanity cabinet in two sections, the glass mirrored section and the open lower section.

Materials that I used

  • Fast Caps
  • Hinge jig
  • Cabinet Hinges
  • Shelf Pins
  • Trim Router bit
  • Drawer Slides
  • Edge Tape
  • Finish
  • White Pad

Tools That I Used:

  • Festool Vacuum
  • Festool Sander
  • Dewalt Drills
  • Dewalt Laser Level

Modern Bathroom White Oak Mirror Vanity Cabinet DIY Tutorial

Filed Under: DIY, Bathroom

NEVER MISS A POST

Reader Interactions

Leave a Reply Cancel reply

Your email address will not be published. Required fields are marked *

Recipe Rating


Primary Sidebar

rad dad builds nick clarke 400b

Hey, my name is Nick. AKA Rad Dad Builds. I’m a father, and just another Woodworker with a Youtube channel. Except I’m the raddest.

  • Facebook
  • Instagram
  • YouTube

NEVER MISS A POST

PARTNERS

home depot influencers woodworker woodworking blog carhartt rad dad builds woodworker woodworking blog

@RadDadBuilds

#joinery #diningtable #modernfurniture #woodwork #build #beginnerbuild #diy #homeimprovement

First off I want to say a special thanks to Soundboks for sending me one of there awesome wireless, Bluetooth speakers. This thing is an absolute beast. Become the life of any party with this awesome speaker. Go check out there website below. 

https://www.soundboks.com

Alright Whats up everyone. 

Have you seen any of my other Home Improvement videos? 
Go check it out if not 

https://youtu.be/U_-XgqoDKq0

Subscribed?? Please consider it. 

https://www.youtube.com/raddadbuilds

https://raddadbuilds.com


In today's video, I'm going to show you how I built this really simple perfectly round dining table with a very interesting base. 

Its a simple build that even the beginner woodworker could take on. 

For those of you who wants to know the specs of the base.Each piece are identical to the others, all at 45" in length and 3x3" thick. The cut out is dead centre, width of the material used and half the thickness. for example I'm using 3x3" so my cut out was 3"wide by 11/2" deep.  

Few Things that I used in the making of this table. 

Osmo Oil Finish: https://amzn.to/2KDLJKf
Figure 8 Attachments: https://amzn.to/2K5D83r
Router bit: https://amzn.to/37p5QVE
Dado Blade:https://amzn.to/3h3xTNx
Rubber Feet: https://amzn.to/3p0pJbt
Titebond 2 glue: https://amzn.to/2UgQWt5

Any questions let me know.


Tools That I Used: 

Rigid Router: https://amzn.to/36ldoHe
Festool Vacuum:https://amzn.to/2FJxuBw
Festool Sander: https://amzn.to/3hE2KPj
Dewalt Drills: https://amzn.to/3gBcxoX
Dewalt Laser Level: https://amzn.to/34E0nsW
Dewalt Nail Gun: https://amzn.to/3kbFXwB

Tech Stuff : 

Sony A6400: https://amzn.to/2CGDdGH
Memory Card: https://amzn.to/32qyweQ
Camera Mic 1: https://amzn.to/2DSxtds


Work with me? Apply here:
https://raddadbuilds.com/contact/

Check out my blog: 
https://raddadbuilds.com

Like the music I use? Epidemic Sound playlist below:
https://www.epidemicsound.com/playlist/r6ijese8bbbiqip93lst322zsph3q6uc

https://www.epidemicsound.com/referral/ooi8zm/

Please go follow me over on Instagram @raddadbuilds. Its a brand new account and I can't seem to get past 60 followers which seems really sad. 


SubscribeSubscribeSubscribeSubscribeSubscribeSubscribeSubscribeSubscribeSubscribeSubscribeSubscribeSubscribeSubscribeSubscribeSubscribeSubscribeSubscribeSubscribeSubscribeSubscribeSubscribeSubscribe Please. 

Stay Rad. 

All content is copyrighted, and republication is prohibited by law. we feature ads and affiliate content as an Amazon Associate earning from qualifying purchases.
http://raddadbuilds.com/disclosure/
HOW TO Build A Round Dining Table With A Functional Art Base | EASY BUILD
YouTube Video UCONwI4TZI4Ys3aUIiuP0rRA_QQ3c80-UE0c
#diy #floatingshelf #woodwork #carpentry #homeimprovement #modernhome

What is up, 
Have you seen any of my other Home Improvement videos? 
Go check it out if not 

https://youtu.be/U_-XgqoDKq0

Subscribed?? Please consider it. 

https://www.youtube.com/raddadbuilds

https://raddadbuilds.com


In today's video, I'm going to show you how I built this really simple yet extremely elegant Floating TV Shelf. 

I built this shelf to bring in some modern design to my tv wall in my living room. As most TVs have everything built-in nowadays I had no need for a big cupboard below. So I decided on a white oak shelf. 

The shelf itself is tied into the main framing of the house and the finished shelf is created by white oak veneered mdf. 

Everything was cut on a track saw or a miter saw and all angles cut are either 45 or 90.

Few things i used: 

Titebond 2 glue: https://amzn.to/2UgQWt5

Osmo Oil Finish: https://amzn.to/35iLjkA

White application pads: https://amzn.to/38yQNcM

Metal l shape bracket: https://amzn.to/2Lh7jET

Wax repair sticks: https://amzn.to/39LM8Fb

Blue Painters tape:https://amzn.to/3mTmsKu


Any questions let me know.


Tools That I Used: 

Rigid Router: https://amzn.to/36ldoHe
Festool Vacuum:https://amzn.to/2FJxuBw
Festool Sander: https://amzn.to/3hE2KPj
Dewalt Drills: https://amzn.to/3gBcxoX
Dewalt Laser Level: https://amzn.to/34E0nsW
Dewalt Nail Gun: https://amzn.to/3kbFXwB

Tech Stuff : 

Sony A6400: https://amzn.to/2CGDdGH
Memory Card: https://amzn.to/32qyweQ
Camera Mic 1: https://amzn.to/2DSxtds


Work with me? Apply here:
https://raddadbuilds.com/contact/

Check out my blog: 
https://raddadbuilds.com


Please go follow me over on Instagram @raddadbuilds. Its a brand new account and I can't seem to get past 60 followers which seems really sad. 


SubscribeSubscribeSubscribeSubscribeSubscribeSubscribeSubscribeSubscribeSubscribeSubscribeSubscribeSubscribeSubscribeSubscribeSubscribeSubscribeSubscribeSubscribeSubscribeSubscribeSubscribeSubscribe Please. 

Stay Rad. 

All content is copyrighted, and republication is prohibited by law. we feature ads and affiliate content as an Amazon Associate earning from qualifying purchases.
http://raddadbuilds.com/disclosure/
Floating TV Shelf | How To
YouTube Video UCONwI4TZI4Ys3aUIiuP0rRA_FW3OjNGT6l0
What is up, 
Have you seen any of my other Home Improvement videos? 
Go check it out if not 

https://youtu.be/U_-XgqoDKq0

Subscribed?? Please consider it. 

https://www.youtube.com/raddadbuilds

https://raddadbuilds.com


In today's video, I'm going to show you how I installed Faux Wooden Window Blinds. There a Relatively easy Install weather you are replacing old or installing new blinds. 

I purchased these particular blinds from home depot but most big box stores will sell them to you. 

Different style blinds can be slightly different to install but they all follow the basic steps shown in this video. 

DONT FORGET to measure your window opening prior to buying the blinds. More often than not the blinds won't always fit perfectly in your window. 

Blinds are a great upgrade which not only increase home security and privacy but can really upgrade the appearance of most enviroments. 

Any questions let me know.


Tools That I Used: 

Rigid Router: https://amzn.to/36ldoHe
Festool Vacuum:https://amzn.to/2FJxuBw
Festool Sander: https://amzn.to/3hE2KPj
Dewalt Drills: https://amzn.to/3gBcxoX
Dewalt Laser Level: https://amzn.to/34E0nsW
Dewalt Nail Gun: https://amzn.to/3kbFXwB

Tech Stuff : 

Sony A6400: https://amzn.to/2CGDdGH
Memory Card: https://amzn.to/32qyweQ
Camera Mic 1: https://amzn.to/2DSxtds


Work with me? Apply here:
https://raddadbuilds.com/contact/

Check out my blog: 
https://raddadbuilds.com


Please go follow me over on Instagram @raddadbuilds. Its a brand new account and I can't seem to get past 60 followers which seems really sad. 


SubscribeSubscribeSubscribeSubscribeSubscribeSubscribeSubscribeSubscribeSubscribeSubscribeSubscribeSubscribeSubscribeSubscribeSubscribeSubscribeSubscribeSubscribeSubscribeSubscribeSubscribeSubscribe Please. 

Stay Rad. 

All content is copyrighted, and republication is prohibited by law. we feature ads and affiliate content as an Amazon Associate earning from qualifying purchases.
http://raddadbuilds.com/disclosure/
Easy Install Faux Wood Window Privacy Blinds | How To #Homesecurity #homeimprovement #diy
YouTube Video UCONwI4TZI4Ys3aUIiuP0rRA_V7RqhZgHU9E

Footer

  • Facebook
  • Instagram
  • Pinterest
  • YouTube

SEARCH THIS SITE

NEVER MISS A POST

CATEGORIES

  • Bathroom
  • Curb Appeal
  • DIY
  • Furniture Making
  • Kitchen
  • About
  • Blog
  • Privacy
  • Disclosure
  • Terms
© 2021 RadDadBuilds.com All Rights Reserved.